
Illustrations by Grace Lilly
Getting started
Since I live in the US, the tips below are based on the official guidelines for addressing an envelope according to the United States Postal Service (USPS). I’ve included information about the difference between addressing an envelope for domestic vs. international delivery — but if you live somewhere outside the US, you should consult your country’s guidelines for address formatting.
Quick tips
- Only write on the front of the envelope (the side without the flap)
- Left-align
- Use pen or permanent marker
- Print in all capital letters
- No punctuation (no commas or periods)

USPS Preferred Formatting
According to the official USPS website, they prefer if you left-align your text and print in all-caps with no punctuation. They’ll probably accept your envelope even if you don’t do all of the above exactly right, but envelopes with unclear writing or addresses in the wrong place may not get delivered.
Worth noting: Even though the official USPS guidelines say “no punctuation,” I’ve definitely put a comma between the city and state many times before and it’s worked. Full transparency, I’ve also seen contradictory advice through USPS about this. I’ve seen some official examples of “correctly formatted envelopes” that have a comma between the city and state (e.g. New York, NY) and others that don’t (e.g. New York NY). It's a similar situation with the all-caps recommendation — it's the stated preference but doesn't seem to be make-or-break as long as things are readable. And in terms of the pen or marker you use, I couldn’t find official guidance on ink color, but black and blue are always a safe bet.
Step 1. Write the recipient’s address
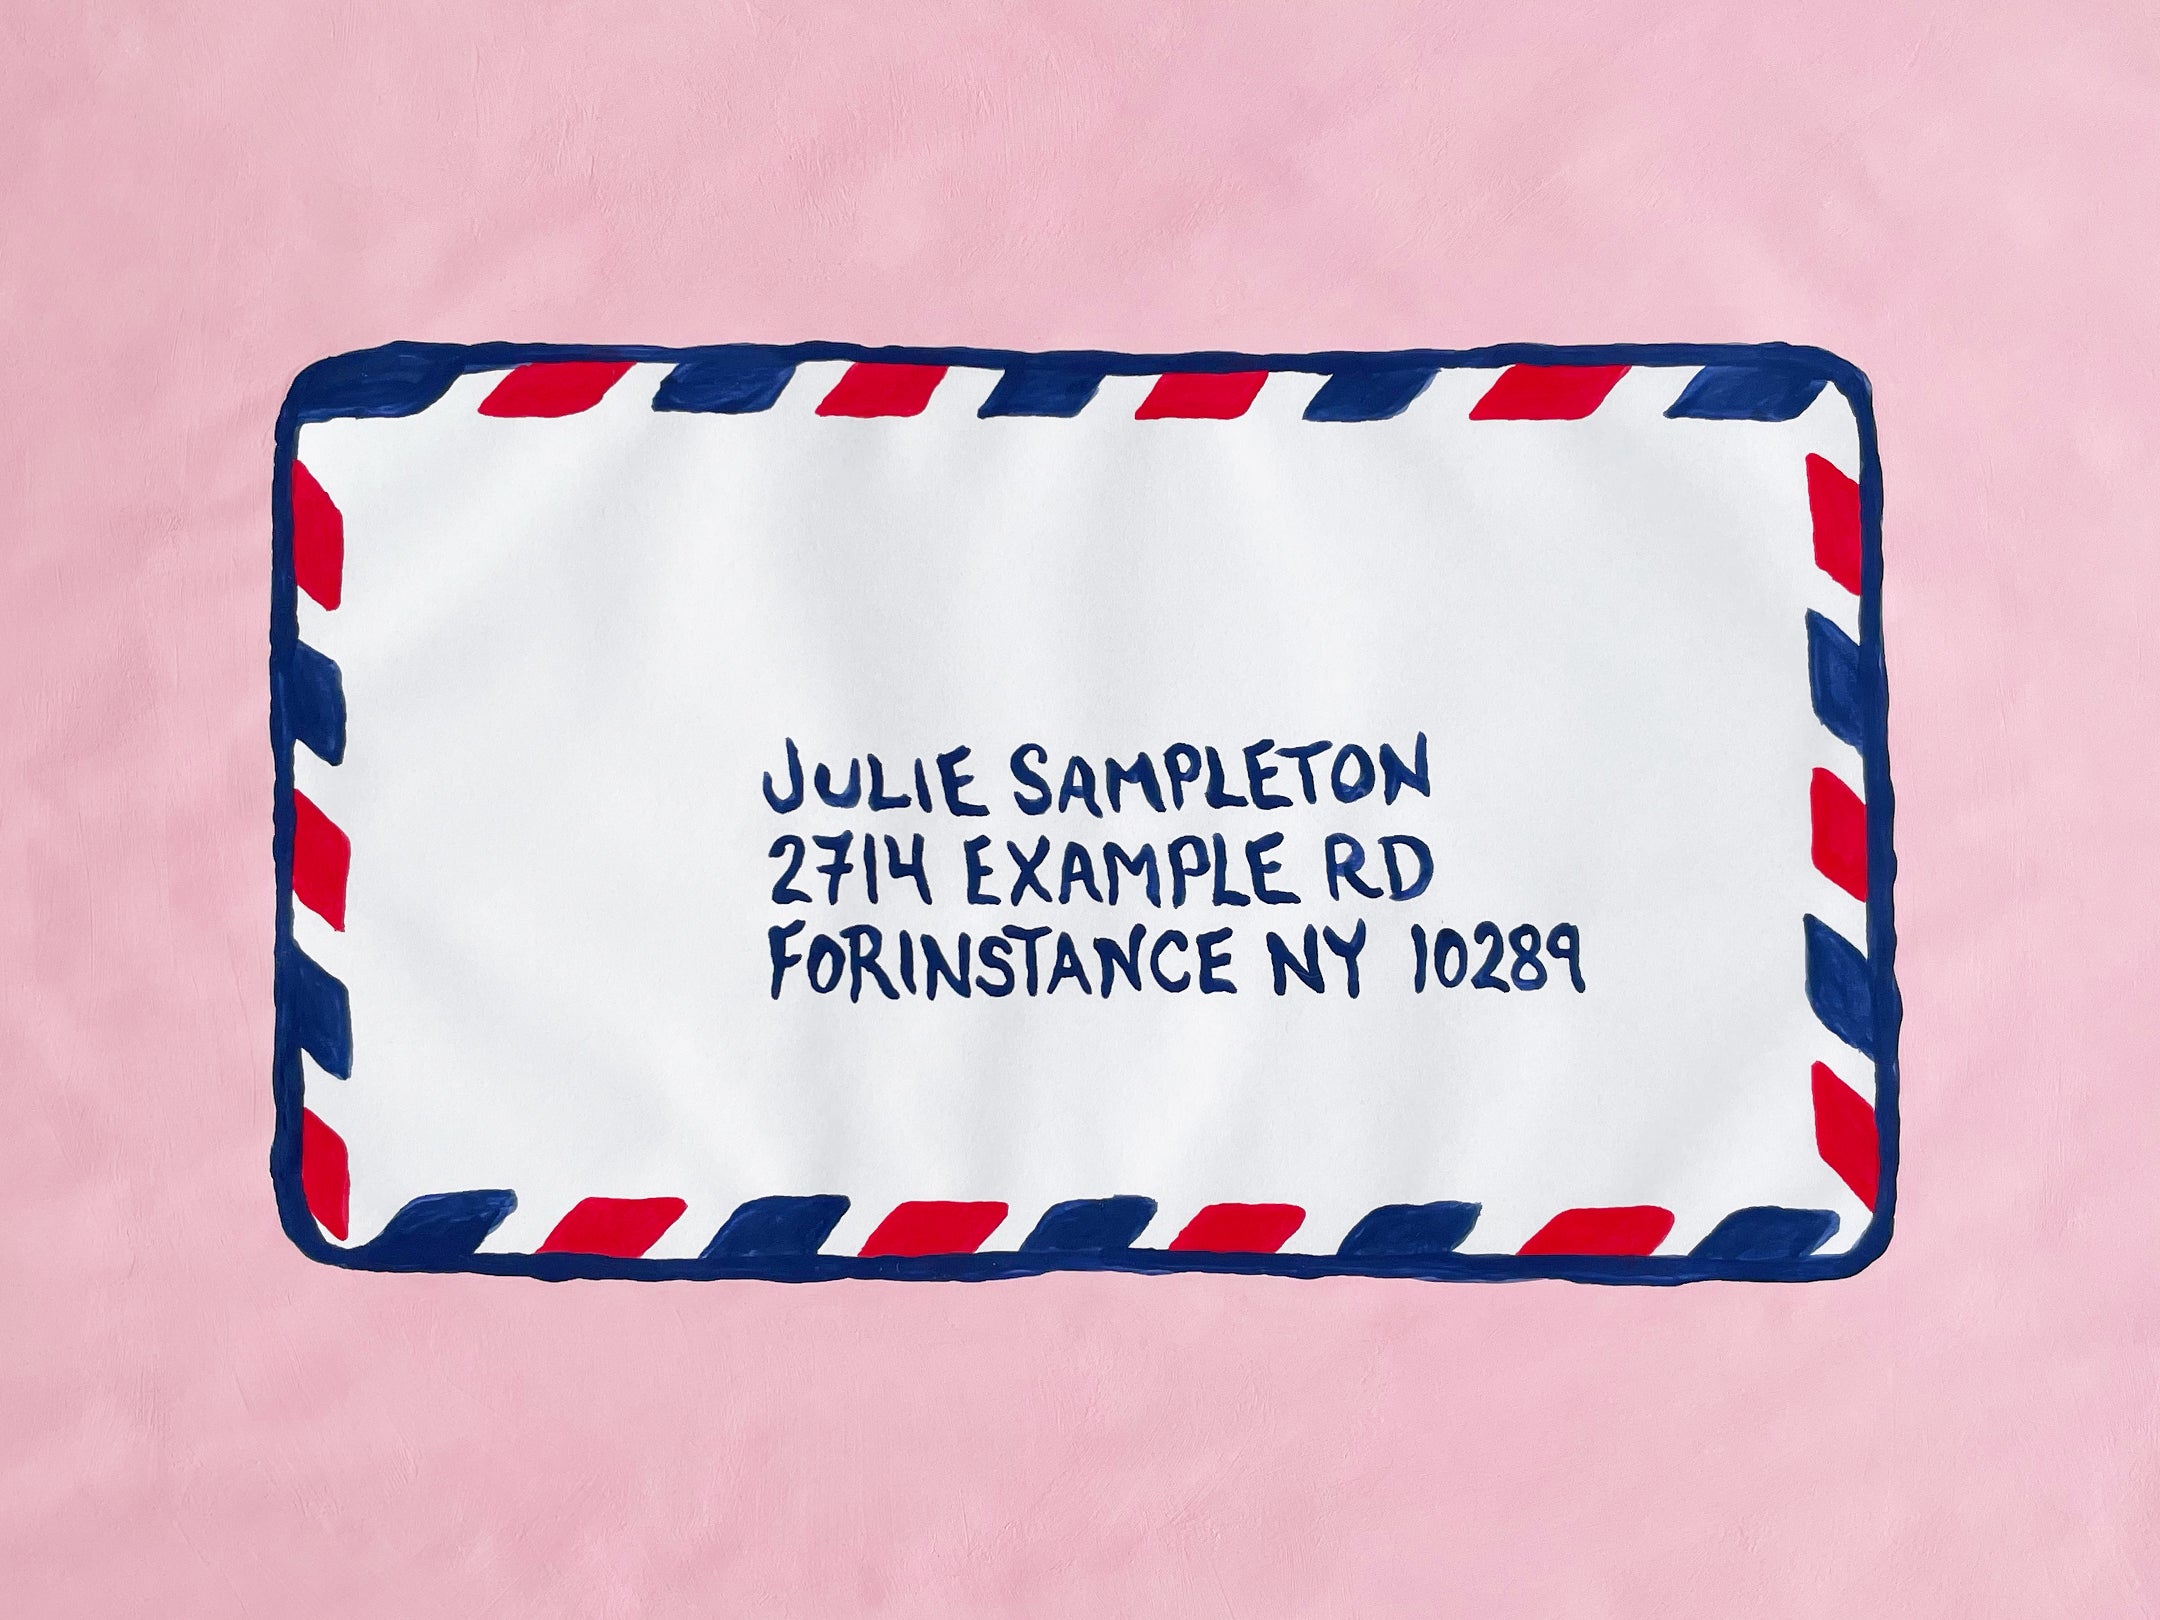
Where it goes – center
In the middle of the envelope, clearly write the following on three separate lines:
- Recipient’s first and last name
- Full street address and apartment or suite number, if applicable
- City, State, and ZIP Code
Note: If the apartment or suite number can’t fit on the street address line, put it on a separate line directly above the street address line. It would look like this:
- Recipient’s first and last name
- Apartment or suite number
- Full street address
- City, State, and ZIP Code
Ideally: add their ZIP+4 Code

Whenever possible, USPS prefers if you use something called a ZIP+4 Code. This is just a more specific ZIP Code that tells a carrier more precisely where to deliver your envelope. It’s made up of 2 parts: a standard 5-digit ZIP Code plus an extra 4 digits at the end. So there’s a total of 9 digits, with the first 5 separated from the last 4 with a “-” (e.g. 10013-5295). If you only know the standard 5-digit ZIP Code, that’s okay too and will work!
To find the last 4 digits of someone’s ZIP+4 Code, use this free tool on USPS’s website.
If you’re curious: what do the digits in a ZIP Code mean?
The first 5 digits of a ZIP Code identify the part of the country and the delivery office. The 6th and 7th digits identify a delivery sector (e.g. a group of streets, a group of Post Office boxes, a large apartment building). The 8th and 9th digits represent a delivery segment, which could be a side of a street or specific Post Office box.
Special U.S. Addresses
If you’re sending an envelope to Puerto Rico, the U.S. Virgin Islands, or a military address, check usps.com for specific formatting requirements. (Look under “Address Your Mail - Special U.S. Addresses”).
International Addresses

Formatting an international address depends on the country you’re sending to. Since the formatting requirements are determined by the recipient’s country, USPS doesn’t have the authority to instruct you on how to format them. So I usually just do a quick Google search and can almost always find examples and answers to my questions.
Step 2. Write the return address

Where it goes – top left corner
In the top-left corner of the envelope, clearly write the following on separate lines:
- Your first and last name (optional)
- Your street address and apartment or suite number, if applicable
- City, State, and ZIP Code
My recommendation
Technically you’re not required to include a return address (also called a sender address), but I strongly recommend it. In rare situations when USPS can’t deliver your envelope (maybe because the recipient moved, there's mistake in the address, your writing is unclear, etc.) including your return address means USPS will be able to send your mail back to you so you can try again.
Step 3. Add the postage stamp

The postage you need depends on the weight & size of your envelope, and where you’re sending it (see below for a breakdown on how to choose the right stamp).
Where it goes – top right corner
Put the stamp in the top right corner of the envelope as straight as possible, lining the edges of the stamp up with the border of the envelope. If your envelope requires using more than one stamp, line them up horizontally next to each other along the top line edge of the envelope, not stacked vertically along the right edge of the envelope.
My recommendation – USA Forever® stamps

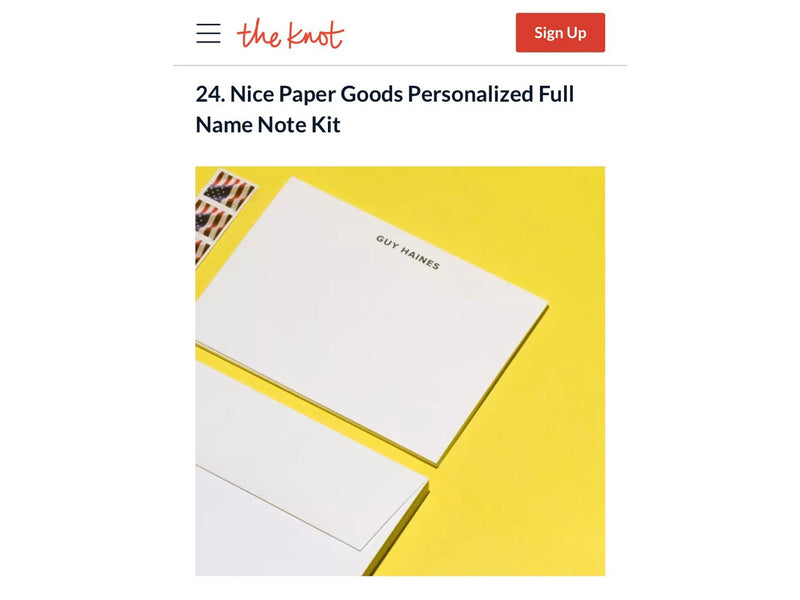
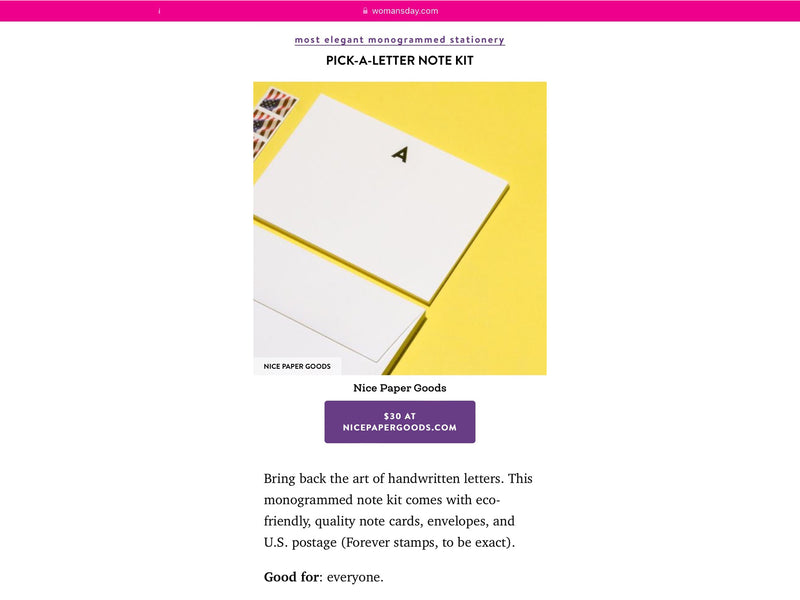
If you’re sending a normal sized, rectangular note or letter, the easiest option is to use a USA Forever® stamp. One stamp will get a standard 1oz envelope anywhere in the country. The best part? They never expire and will work even if the price of postage increases. You can buy them online at usps.com, at a Post Office, or get them in any of our Nice Paper Goods all-in-one stationery kits.
Why I love USA Forever® stamps
- They never expire
- 1 stamp gets your envelope anywhere in the country
Sending internationally

If you’re sending an envelope to a country outside the United States, USPS offers Global Forever® stamps that will get your standard 1oz envelope anywhere in the world. Just like USA Forever® stamps, Global Forever® stamps never expire and will work even if the price of international postage increases. You can buy them online at usps.com or at a Post Office.
Fun fact: USA Forever® stamps are usually rectangular and Global Forever® stamps are usually circular.
Why I love Global Forever® stamps
- They never expire
- 1 stamp gets your envelope anywhere in the world
Postage Price Calculator
Most letters and notes will fit the standard 1oz limit for Forever® stamps, but if you add more than 2 or 3 sheets of paper, it might go over the limit. If you’re concerned that your envelope may weigh more than 1oz or if you don’t want to use Forever® stamps, you can use this tool to calculate the amount of postage you’d need: USPS Postage Price Calculator.
Irregularly-shaped envelopes
- Envelopes larger than letter-size will be charged package prices
- All envelopes must be flat; if your envelope can’t fit through automated processing equipment, it’s considered “nonmachinable” and costs more to send
- Nonmachinable items include lumpy or rigid envelopes, and those that have clasps, string, or buttons
- Tiny novelty envelopes may be considered nonmachinable as well and can incur a surcharge
- Unusually shaped envelopes, including squares, will also cost more to send
- View standard size requirements here
Mailing your envelope

There are 3 ways to mail your envelope:
- Drop it off in a blue USPS collection box
- Take it to a Post Office lobby drop
- Leave it in your personal mailbox for carrier pickup
My recommendation – Post Office
My personal preference is to take it to a Post Office and drop it off in the lobby. This way I know that my mail is safely on its way as soon as possible.
Locating a post office near you
This USPS free tool will tell you where the post offices are near you and what time they open & close.
Locating a blue collection box
If you want to put your envelope in a blue USPS collection box but don’t know where to find the closest one to you, you can use the same USPS Find Location tool — but instead select ‘Collection Boxes’ under the ‘Location Types’ drop-down menu. It shows you a map of your selected area and each blue dot represents a collection box.
Leaving it in your personal mailbox
According to the official USPS website, carriers are supposed to pick up outgoing envelopes that you leave for them in your mailbox. In my experience, it seems to be more or less likely to actually work like this depending on where you live. For example, I live in New York City and I haven’t had any luck getting my local carrier to take outgoing envelopes out of my mailbox, so I just take them to the Post Office. But I also have friends and family in smaller towns who leave outgoing envelopes in their mailbox for their local USPS carrier and it works great for them.
That’s it!
Once you drop off your envelope at a collection box, Post office, or leave it in your mailbox, you’re all set! ꩜








0 comments